
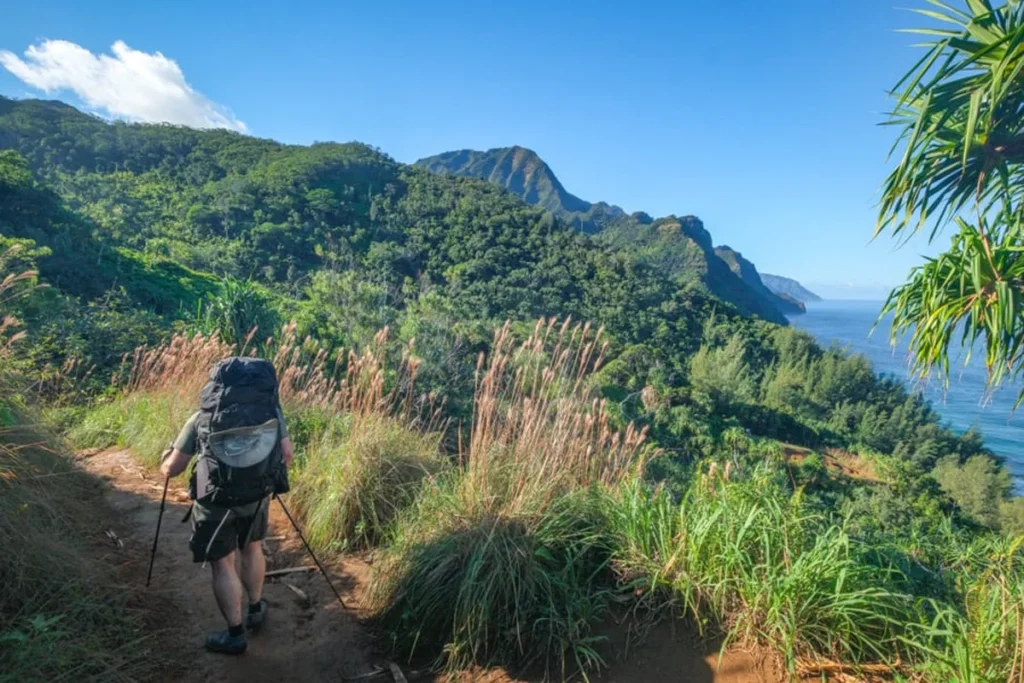
The night before my first Kalalau crossing, I sat on the porch in Hanalei with a cold coffee and a printed permit, watching the rain come in sideways off the Na Pali cliffs. No lights, no traffic, just the sound of water moving fast. I remember thinking: this is exactly why I travel. Three hikes later, I can tell you the Kalalau is not a trail you conquer. It’s a place you walk very carefully through, and it gives you everything back.
I’ve hiked the Kalalau Trail three times now, and it remains one of my favorite hikes in all of Hawaii. This epic coastal trek on the island of Kauai is usually done in 3 days and 2 nights, and it has it all — jungles, beaches, waterfalls, and the towering green cliffs of the Na Pali Coast. It’s also a notoriously long, tough hike with real dangers involved, which is why permits are required. Even so, it’s a very special experience worth any of the hassle that may stand in your way.
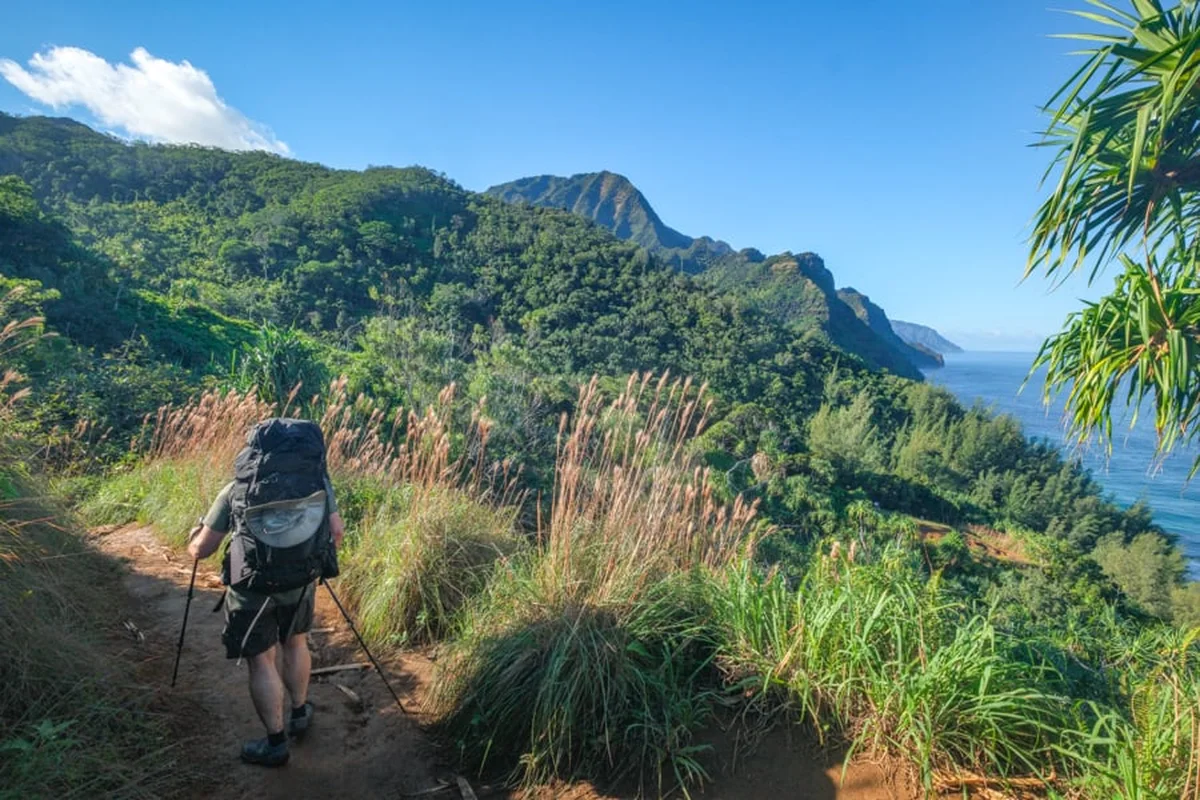
The Kalalau Trail at a Glance
Distance: 22 miles (35 km) roundtrip. Elevation gain: 6,500 feet (1,980 m). Duration: about 3 days. Difficulty: hard. That’s the honest shape of it, and if the numbers alone make you pause, good — they should.
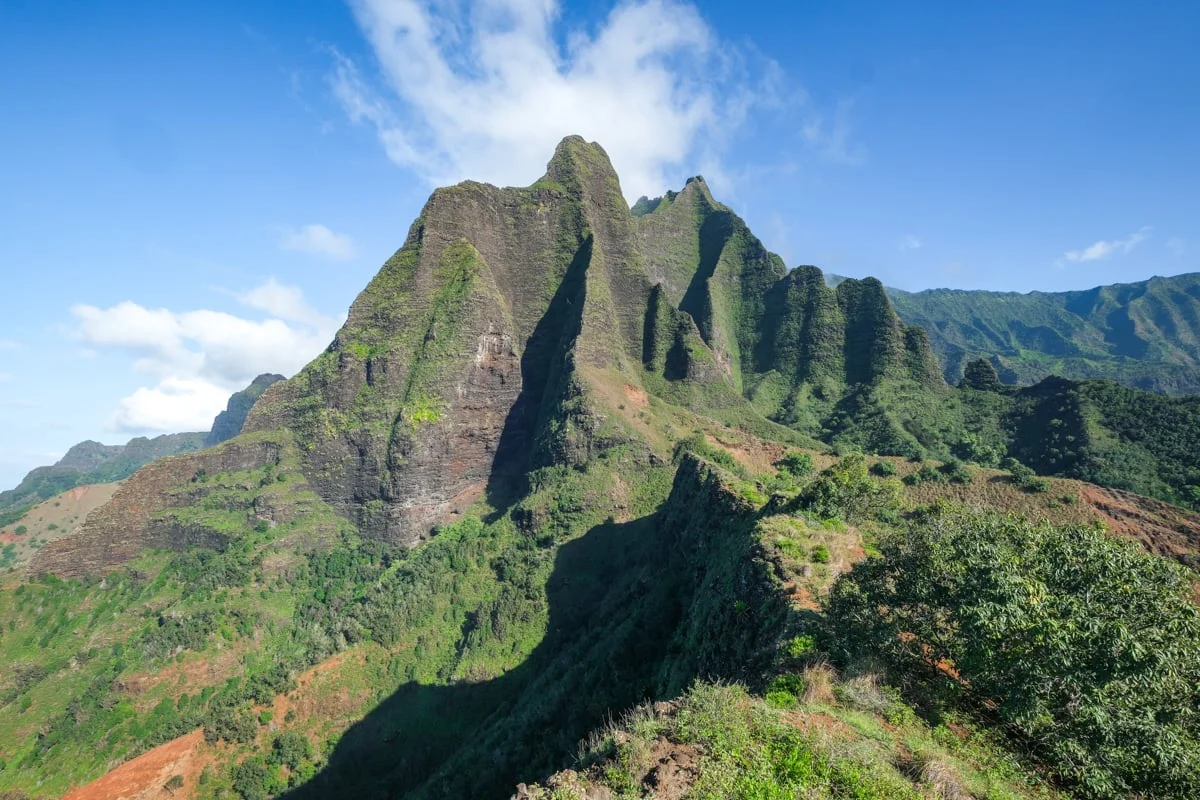
Step by Step Along the Trail
Miles 0–2: Ke’e Beach to Hanakapiai Beach
The hike begins at Ke’e Beach with a steady climb along a rocky, muddy path. Counterintuitively, the start is the wettest and most slippery part of the whole trail. You get your first real views of the Na Pali Coast at about 1.2 miles, and in winter you can sometimes spot whales spouting in the distance, so keep an eye on the water.
From there the trail descends to Hanakapiai Beach and crosses a stream. I’ve learned that it’s often better to take your shoes and socks off and wade through than to hop the boulders — one slip and your whole pack is soaked. After the stream there’s an optional spur to Hanakapiai Falls for a swim. It adds 3.4 miles roundtrip, so I usually save it for the way back.
Miles 2–6: Hanakapiai Beach to Hanakoa Valley
This stretch climbs again, then turns noticeably more rugged and narrow, with thick foliage on both sides. The bushes can hide steep drop-offs, so I don’t get careless. You’ll hear helicopter tours overhead often, and seeing the Na Pali from above is a bucket-list moment if you ever get the chance.
Eventually you pass through a gate at Space Rock, the trail’s highest point, followed by two smaller stream crossings (Ho’olulu and Waiahuakua). There’s a camping area at Hanakoa Valley, but it’s buggy, so most people skip it. There’s another crossing after that and an optional spur to Hanakoa Falls that adds half a mile roundtrip.
Miles 6–9: Crawlers Ledge to Kalalau Valley Rim
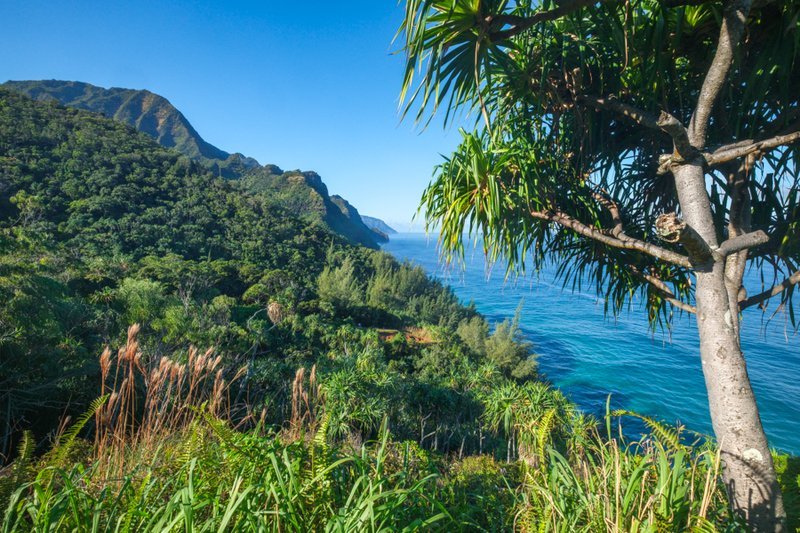
The section after Hanakoa is one of the most treacherous parts of the hike. It’s not technical, but it can be scary. There’s an awkward descent on a slippery dirt path, followed by the infamous section called Crawlers Ledge — a path slightly wider than a person, with a rock wall on one side and a steep drop into the ocean on the other. You’ll have plenty of traction if you walk slowly and hug the wall. After it, the trail crosses high ridges with expansive Na Pali views. A few dirt sections need care, especially in rain, but otherwise it’s mostly safe.
Miles 9–11: Kalalau Valley Rim to Kalalau Beach
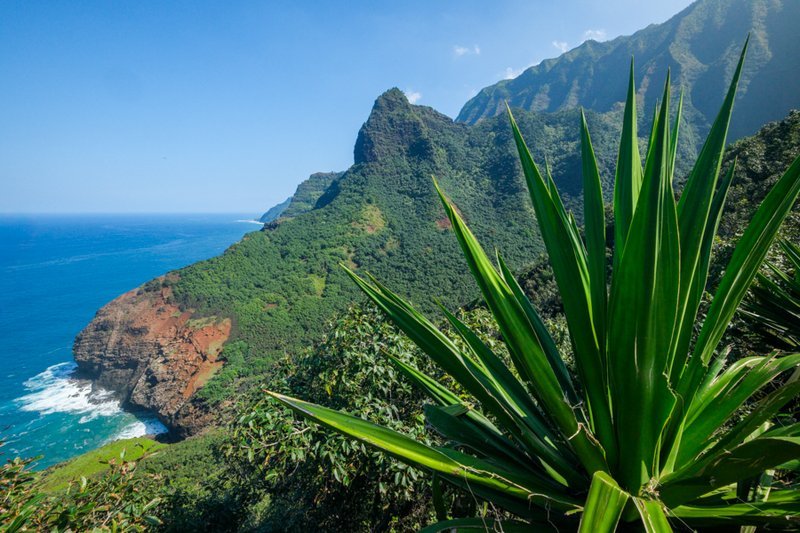
Here the trail begins a long descent toward Kalalau Valley, offering peek-a-boos of the beach far below. I think these are the best views of the entire hike, but fatigue really sets in and the trail starts to feel never-ending. One more stream, then you arrive at the majestic Kalalau Beach, ringed by tall cliffs.
Kalalau is, in many ways, the ultimate place to camp. There are plenty of sites to pitch a tent or hang a hammock among the trees, and a small waterfall called Ho’ole’a Falls that people use to shower. At night you sleep to the sound of the waves. If you want a little extra hiking during your stay, the side trail into Kalalau Valley has a swimming hole and sights most people miss. When you’re done, you retrace the same trail home.
Permits: Book Early
A permit is required to hike and camp on the Kalalau Trail, and only a limited number are available per day. In the summer months they can sell out fast, so book months in advance. Otherwise, you can hike the first 2 miles to Hanakapiai Beach and Falls with a day-use reservation from Ha’ena State Park — but anyone going past Hanakapiai needs an overnight camping permit. Save a copy of your permit on your phone or print one and keep it dry. You won’t be able to pull up emails on the trail, and you’ll need to show it if a park ranger does a spot check.
You can book camping permits directly through the State Parks Kalalau page.
Getting to the Trailhead
The trailhead sits at Ke’e Beach near Hanalei, on the north side of Kauai. Coming from Lihue airport, the drive is easy but takes a little over an hour. If you’re planning to explore other parts of the island, renting a car is the easiest way to get around. If you don’t have your own transport, you can reach the trailhead with Lyft or Uber, though it will be expensive. There’s also a limited shuttle system from Princeville and Waipa.
The trailhead has bathrooms, outdoor showers, and drinking fountains — a nice place to clean up before and after the hike. Even with a camping permit, you’ll need a separate permit to park overnight at the trailhead, available at Go Haena. Vehicle break-ins have been common in the past, so don’t leave anything valuable in your car. If you arrive by shuttle or get dropped off, no parking permit is needed — that’s how I did it, with someone dropping me at the trail and picking me up on the other end.
What to Bring
I’ve always traveled light at Kalalau with a 20 or 30-liter daypack, though many people prefer a proper full-size backpacking pack. Beyond the pack, here’s what I’d actually bring.
- Clothes: a light shirt and shorts for hiking in the heat all day, plus a spare change to sleep in.
- Hat: a cap to protect your face from the sun, or a wide-brim hat to cover your ears and neck.
- Shoes: sturdy hiking shoes or boots with good traction and ankle support. Comfortable hiking socks that don’t hold smell are a quiet game-changer.
- Sandals: invaluable for walking around camp once you arrive. Your feet will be sore after a day like this, and you won’t want to walk barefoot over sticks and rocks.
- Trekking poles: a personal preference, but a lot of people find them genuinely helpful on this trail.
- Waterproofing: a backpack cover, plus plastic bags for things inside. Just remember to pack out anything you pack in.
- Stove and fuel: a small canister stove for cooking freeze-dried meals at camp. Fuel can’t go on planes, so you’ll buy canisters in Kauai.
- Food: freeze-dried meals are light, easy to cook, and taste surprisingly good. Bring a spoon or spork. Small snacks for energy — trail mix, jerky, or granola bars — keep you going between meals.
- Water: I’d start the trek with at least 2 liters. It’s better to have too much than not enough. A hydration bladder means you’re not digging bottles in and out of your bag on the trail, and a collapsible jug is handy at camp.
- Filter: essential, because you can’t carry infinite water. Some people say the stream water is safe to drink, but I personally wouldn’t risk it unfiltered. Purification tablets, a straw filter, a UV pen, or a filtered bottle all work; boiling does too. I carry a filtered bottle with iodine tablets as backup.
- Drink mixes: you’ll be sweating a lot, so a few packets of hydration powder to replace electrolytes are worth the weight.
- Sleeping gear: a light tent or travel hammock, plus a sleeping bag or blanket. I’ve always done the hammock, but if the weather turns, a tent is the safer bet.
- Bug spray: I’ve rarely had issues with bugs on the trail itself, but you’ll want spray if you plan to camp at Hanakoa.
- Headlight: an absolute must. You may find yourself hiking after dark, and a light helps you see where you’re stepping and find your way around camp. Bring extra batteries.
- Toiletries: travel-size tissues, body wash, shampoo — the small things that make a rough trip feel a little more civilized.
How Hard Is It?
Kalalau is a long, hard hike with a lot of elevation gain, plus heat, humidity, and a heavy pack. It takes a full day of hiking — 6 to 12 hours — to go one way from the trailhead to the beach, and then at least as long to come back. It’s one of the hardest hikes I’ve done, and you should train for it before you go. It will wreck you, in the best possible way.
Ideally, you’d spend a full day and two nights resting at Kalalau Beach before hiking back. I did the trek in 2 days and 1 night once, but that was even harder, and I wouldn’t recommend it unless you’re short on time. By the time I reach camp and flop down, I’m so tired I could sleep on solid rock — even hard ground feels soft. Going back is its own chore, with ups and downs that seem endless. If you need to make it easier, you can break it up with an extra night at Hanakoa in either direction, though that’s a buggy campsite with not much to see.
Is It Safe?
Kalalau is not without risk. It’s a very weather-dependent hike, and conditions can change in an instant. I wouldn’t recommend it for young kids, older people who aren’t in good shape, or anyone who isn’t surefooted and comfortable with heights. As of 2026, there have been 18 confirmed deaths on the trail — and that excludes drownings at the beaches, where another 42 people have died. I’ve written a full safety guide covering these incidents and how to avoid them, so I’d read it before you go: Deaths and Safety at Kalalau.
Other Tips for the Trek
- Water sources: there are good water sources along the trail — the main streams are at 2 miles (Hanakapiai), 6 miles (Hanakoa), 9 miles (Kalalau Valley), and 11 miles (Ho’ole’a Falls). Treat or filter all water before drinking.
- Toilets: simple composting toilets sit at the trailhead and at 2 miles (Hanakapiai), 6 miles (Hanakoa), and 11 miles (Kalalau Beach).
- Foraging: you’ll sometimes find wild fruit on the trail — mangoes, guavas, papayas, lilikoi (passionfruit), and mountain apples.
- Bugs: mosquitoes are present but aren’t known to carry tropical diseases. They’re mainly in damp, still areas like Hanakoa or Hanakapiai Valley. They’re rarer at Kalalau Beach, where the breeze keeps them away.
- Cell service: from start to finish there’s no cell service anywhere on the trail — not even in the parking lot. That’s a nice break from life, but if you need to stay in touch for a pickup or to check in with family, you’ll want a satellite communicator or a phone plan with satellite data. I used one on my last trek and it was genuinely helpful for arranging my pickup.
- Supplies: there’s an Ace Hardware and a Walmart in Kauai if you need fuel canisters and other supplies, and you can rent camping gear locally if you’d rather not buy everything.
Best Time to Go
Kauai’s dry season runs from April to September. You’re still not guaranteed good weather in those months, but generally it’s the best time to do the hike — easier, safer, more enjoyable. The rainy season runs from October to March, and the island is especially wet from December to February. You can still do the trek then, but you have a higher chance of rain, mud, and cloudy skies.
Every time I’ve done Kalalau was in the rainy season, mostly because I like going to Hawaii in winter to escape the cold back home. One upside: it’s easier to snag permits because there’s less competition. I’ve run into rain on most of my hikes, but it was still a blast, and the trail is very doable in the wet season as long as you’re careful and respect the weather. Before I go, I watch the forecast for Hanalei, and the state may close the trail if things get too sketchy — you can check that on the DLNR website or Go Ha’ena.
When to Start
As for the time of day: morning is best, but you don’t have to start crazy early. It depends on your hiking style and how fast you move. I hit the trail at 9 a.m. on my last trek and still reached Kalalau Beach well before sunset, with plenty of time to cook and set up camp before dark. If you’re on the slower side, start earlier to give yourself more room.
Frequently Asked Questions
How many days does the Kalalau Trail take?
The full roundtrip is 22 miles and is usually done in 3 days and 2 nights, resting at Kalalau Beach. You can do it in 2 days and 1 night, but it’s considerably harder.
Do I need a permit?
Yes. An overnight camping permit is required for anyone going past the first 2 miles. In summer they sell out fast, so book months ahead. The first 2 miles can be done with a day-use reservation from Ha’ena State Park.
Is the trail safe?
It’s a hard, weather-dependent hike with real risks — 18 confirmed deaths on the trail and 42 drownings at the beaches as of 2026. It’s not for young kids, out-of-shape hikers, or people who aren’t comfortable with heights. Train, check the forecast, and respect the weather.
The Golden Hour
If I could give you one hour on this trail, it would be the last hour before dark on the first night at Kalalau Beach. You’ve earned it. The cliffs go dark blue, the light turns gold on the water, and the only sounds are the waves and the wind in the trees. You eat your dinner slowly, watch the sky, and remember exactly why you came all this way. That hour is the whole point.
a note from Luna: The Kalalau is not a trail that fits neatly into a weekend, and that’s part of its magic. It asks for your patience and your full attention, and in return it gives you a beach that feels almost too good to be true. Take it slow, take the extra night, and let the island do what islands do.